
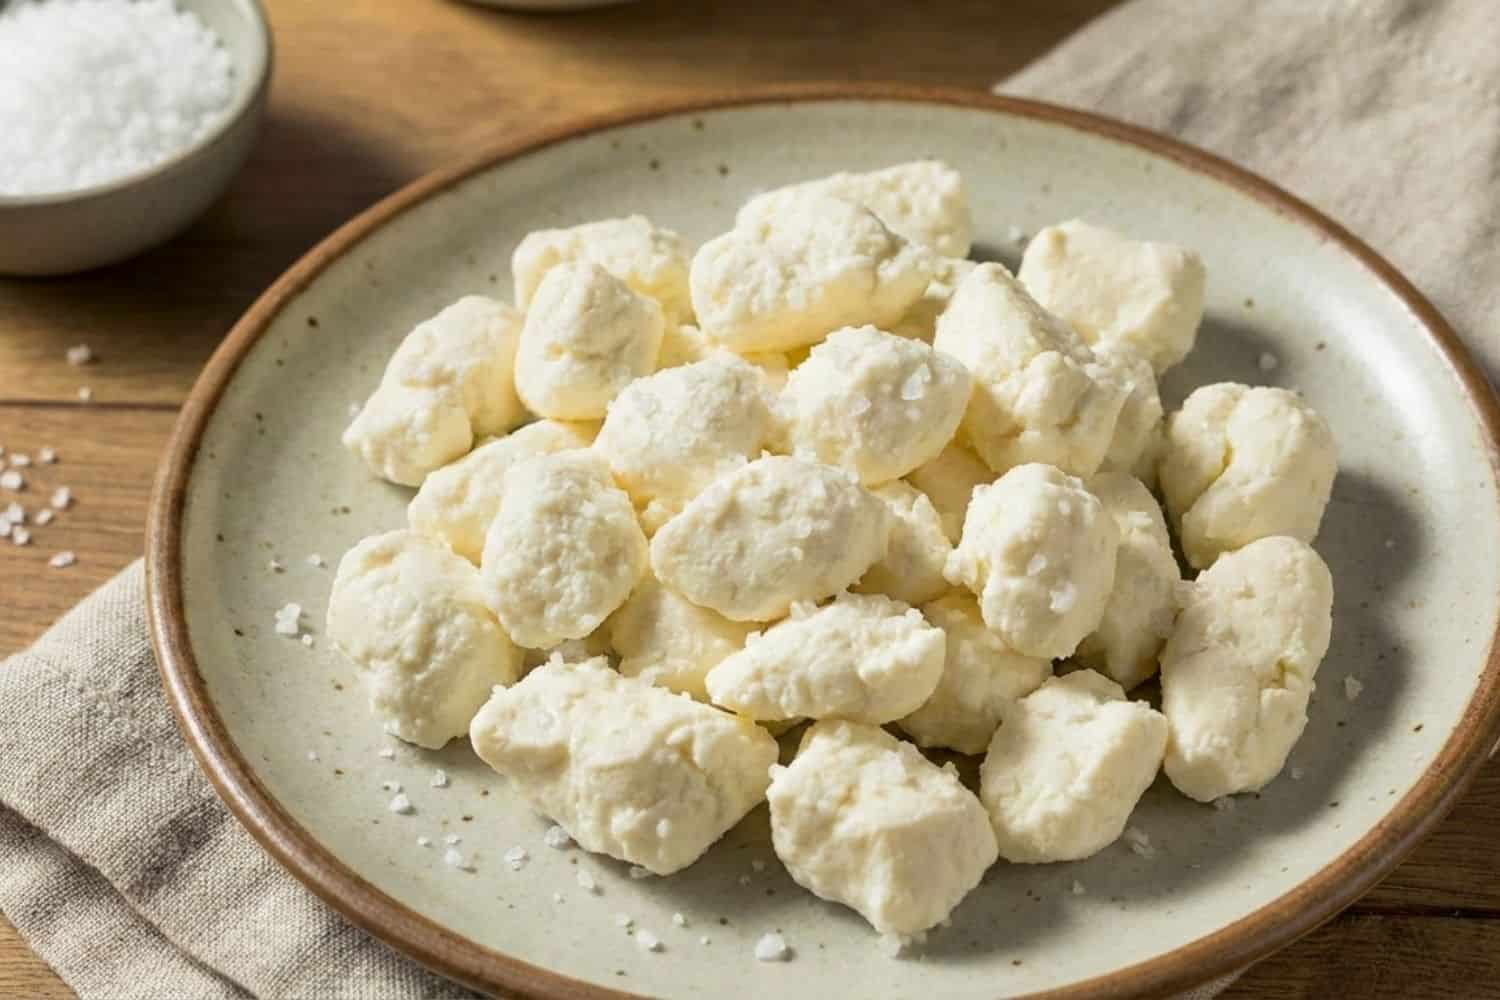
Fresh cheese curds are so much better than anything you’ll find pre-packaged, and they’re surprisingly doable at home!
The key is heating your milk slowly and hitting the right temperature, or your curds won’t form properly.
These are best eaten within a day or two while they still have that signature squeak.
Nothing beats pulling fresh curds out of the whey and popping them in your mouth while they’re still warm and soft.
Don’t skip the salt at the end because it brings out all the milky flavor!
How to Make Cheese Curds Recipe
Ingredients
- 1 gal Whole Milk
- 1/4 tsp Calcium Chloride
- 1/4 tsp Mesophilic Culture
- 1/4 tsp Liquid Rennet
- 1 tbsp Kosher Salt
- 1/4 cup Water
Step-by-Step Instructions
Step 1:
Heat the milk in a double boiler to 90°F, stirring slowly so the temperature rises evenly and doesn’t scorch.
Step 2:
Stir in the calcium chloride, sprinkle in the culture, then cover and let the pot rest for 30 to 40 minutes.
Step 3:
Mix the rennet with water, stir it into the milk for a minute, then let the pot sit undisturbed until a clean curd forms.
Step 4:
Cut the curd into 1-inch cubes, let it rest for five minutes, then heat slowly to 98°F, stirring every few minutes.
Step 5:
Drain the curds, keep them warm around 113°F, and flip the forming slab several times over an hour.
Step 6:
Cut the slab into bite-size pieces, salt them evenly, and let the curds rest briefly before serving.
Tips and Tricks for Making This Recipe

Temperature Control
Keep a thermometer nearby; small temperature changes can shift the texture a lot faster than you might think.
Milk Selection
Always use non-ultra-pasteurized whole milk.
Heat-treated milk just doesn’t form proper curds, plain and simple.
Gentle Stirring
Go slow with stirring. If you stir too hard, you’ll break the curds and end up with dry, crumbly pieces.
Timing Patience
Respect every resting period.
Rushing the process means you miss out on that signature squeak everyone loves.
Fresh Use
Try to eat the curds within 24 hours.
Refrigeration dulls the texture and firmness before you know it.
What to Serve with Cheese Curds Recipe

Cheese curds shine brightest when you pair them with sides that balance out their richness and add a little crunch.
Traditional Dipping Sauces
I like to set out classic sauces; ranch or barbecue are favorites.
That way everyone gets to control their own salt and tang.
French or Sweet Potato Fries
You can’t go wrong with fries.
Sweet potato fries, especially, bring a touch of sweetness that works great with hot, squeaky curds.
Raspberry Jam
This might sound odd, but a little raspberry jam does wonders.
The fruit’s acidity cuts through the richness and keeps things lively.
Hoisin Dipping Sauce
Sometimes, I go for hoisin sauce.
The sweet and savory combo pairs surprisingly well with fried curds!
Variations and Substitutions
Cheese Substitutes
If you can’t find fresh cheese curds, try torn low-moisture mozzarella; it melts and pulls in a similar way.
Mild cheddar, paneer, or Colby work too.
Just cut them into bite-size chunks for that familiar curd feel.
If you want something softer, go with ricotta or cottage cheese, but drain them well so they don’t get too wet.
Cooking Methods
Pan-frying curds is quick, and a heavy skillet gives you even browning in no time.
Baking works as well; just flip them once so both sides brown up without a lot of extra oil.
Seasoning and Add-Ins
Season curds with garlic powder, smoked paprika, or cracked pepper, but go light so you don’t drown out the cheese.
Fresh herbs or a side of gravy for poutine are always welcome.
I like to warm sauces separately so the curds stay firm.
How to Store Leftover Cheese Curds Recipe
If you want cheese curds to stay fresh, handle leftovers with care; texture can change fast!
Refrigerator Storage
Refrigerate leftover curds as soon as they’ve cooled.
Cold temps slow down moisture loss and spoilage.
I stash them at the back of the fridge, where it’s coldest and most consistent for dairy.
Airtight Containers
Use an airtight container or a tightly sealed bag.
Air dries curds out quickly, so press out extra air before sealing.
This helps the cheese curds keep their bite for a few days, maybe even longer if you’re lucky.
Freezing for Longer Storage
You can freeze cheese curds if you have to, but don’t expect the same squeak after thawing; they get firmer.
I freeze them in small batches, so I only thaw what I need and don’t waste any.
Common Mistakes to Avoid
I’ve made cheese curds plenty of times, and you get better results if you slow down and pay attention to a few key details.
Wrong Milk
Ultra-pasteurized or low-fat milk will give you trouble.
Fresh whole milk without stabilizers is the way to go for reliable curds.
Poor Temperature Control
If your milk gets too hot or too cool, you’ll end up with weak or rubbery curds.
I keep a thermometer close and adjust heat little by little.
Overworking Curds
If you cut or stir the curds too aggressively, you’ll end up squeezing out way too much moisture.
Seriously, just go easy; curds need a gentle, patient touch. I always have to remind myself not to rush it!
Cheese Curds Recipe
Ingredients
- 1 gal Whole Milk
- 1/4 tsp Calcium Chloride
- 1/4 tsp Mesophilic Culture
- 1/4 tsp Liquid Rennet
- 1 tbsp Kosher Salt
- 1/4 cup Water
Instructions
- Heat the milk in a double boiler to 90°F, stirring slowly so the temperature rises evenly and doesn't scorch.
- Stir in the calcium chloride, sprinkle in the culture, then cover and let the pot rest for 30 to 40 minutes.
- Mix the rennet with water, stir it into the milk for a minute, then let the pot sit undisturbed until a clean curd forms.
- Cut the curd into 1-inch cubes, let it rest for five minutes, then heat slowly to 98°F, stirring every few minutes.
- Drain the curds, keep them warm around 113°F, and flip the forming slab several times over an hour.
- Cut the slab into bite-size pieces, salt them evenly, and let the curds rest briefly before serving.